 |
| In my previous post I told y'all the story of this frenchy raspberry chair I purchased this last week. Though I indeed love her over all shape I knew she was slowly going to be transformed. |
 |
| As impatient as I am I jumped right in on the transformation process. Since I am not any where near brave enough to reupholster it yet I decided I was going to at least make the wood frame have an old world feel. I busted out my extra wide blue painters tape and got busy. |
 |
| Though an easy process it was a long process. It took me about an hour total. To make sure I had full coverage I pushed my fingernail in between the frame and the fabric which wedged the tape down. |
 |
| Here she is all taped and ready for her make over. |
 |
| Here is what I used to keep the paint off the floor and so that I could make sure to get to the very bottom of the feet. Yep, those are the tops to the ever so many cups the boys bring home from dinner. We have a drawer full so plenty to go around. |
 |
| Of course I pulled out my trusty chalk paint. The transformation involved three differ colors. The first I used was Paris Gray. |
 |
| I used a thin paint brush. I think it was an inch wide and just dry brushed it on. Very little paint was needed and if you do not want to purchase an entire quart you can certainly complete a project of this size with just sample pots! |
 |
| Next up was the newest chalk paint color Coco! |
 |
| I used the dry brush method again. Here you can see the distinction between the two colors. |
 |
| Then my final color was Old White which I brushed on a bit more heavily over the entire piece but still making sure to leave some distinction between the layers. To hurry the process along I used a hair dryer to dry in between each color though this paint dries fairly quickly. I was hoping to achieve a crackle finish but I am guessing that did not happen since I did not apply the paint on thick enough. I had seen though where people have achieved the crackle with just a hair dryer. Next I used clear wax and then dark wax to finish the look up. |
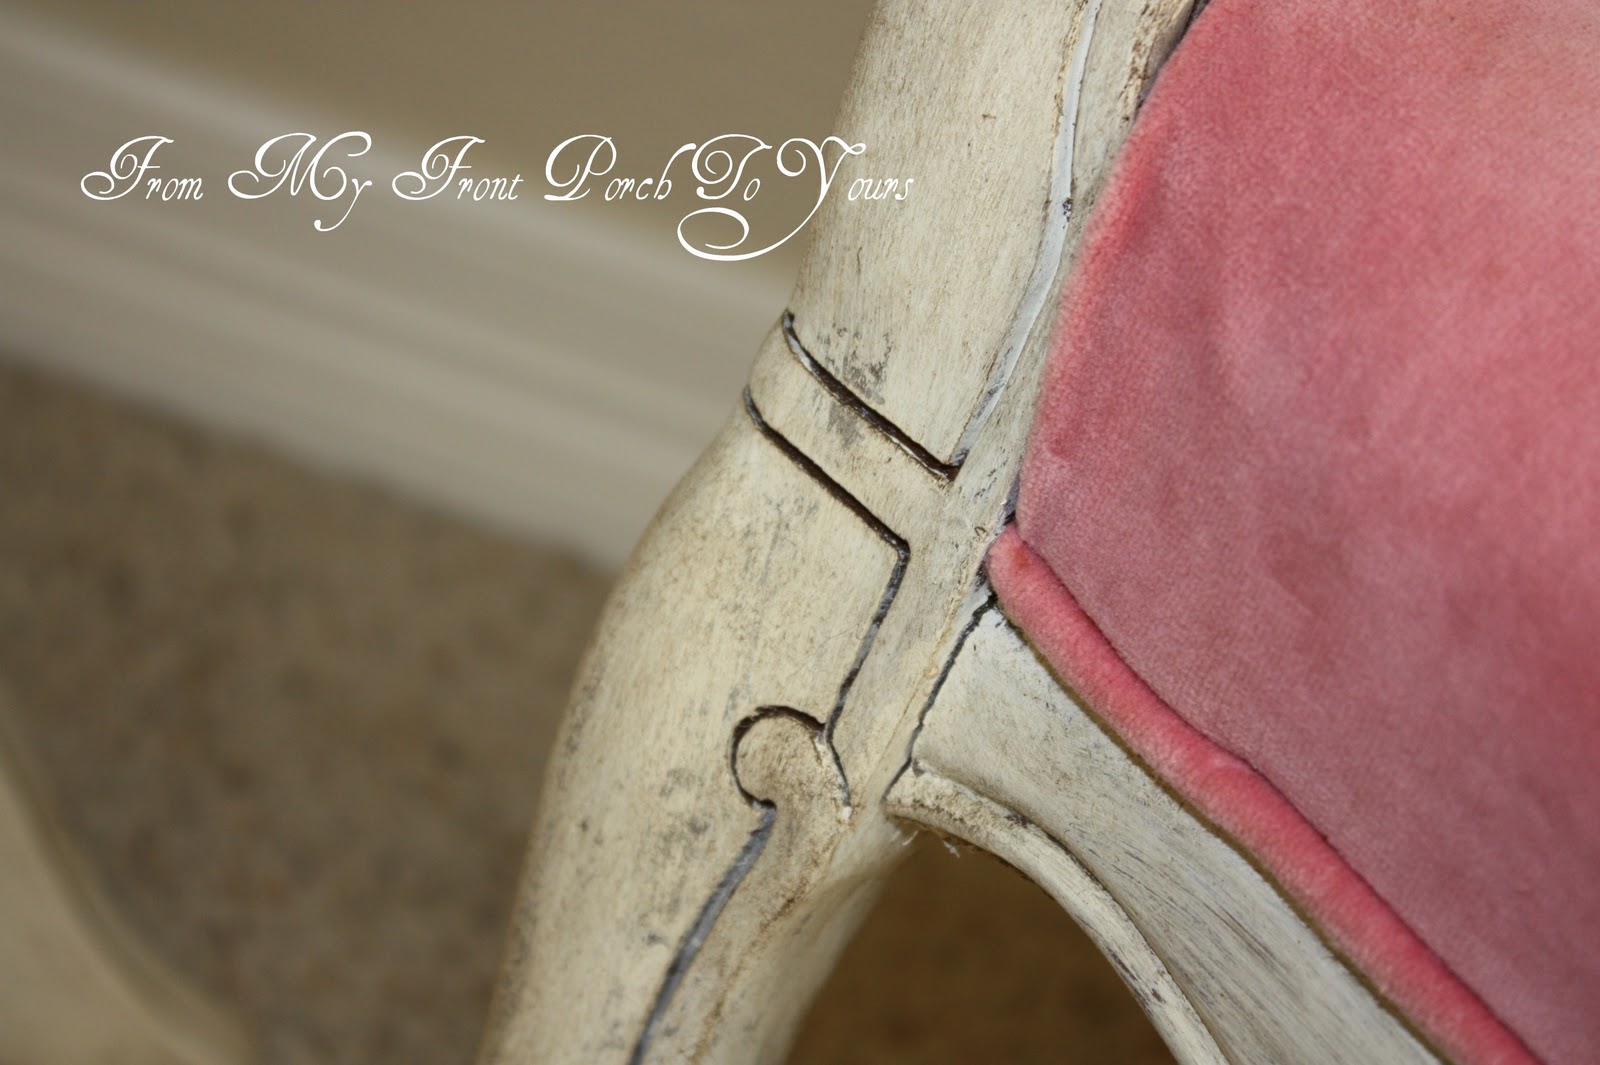 |
| Here you can see the color variations. |
 |
| I was not going to use the dark wax at first but I am glad that I did. It truly enhanced the piece. |
 |
| I think she fits in much better now and honestly her raspberry color is not as shocking anymore. I may just keep her that way! |
 |
| Here is the fabulous toile fabric I found at HobLob this past week. I plan on using it for accent pillows. I think it goes nicely with the raspberry chair! Hope your weekend was a grand one! We had beyond beautiful weather here but the entire fam is snotty and has chest congestion which has not been fun!:( Thanx for stopping by! Linking up to the following parties: Sunday Showcase Party Metamorphosis Monday Amaze Me Monday Show Off Your Cottage Monday Nifty Thrifty Tuesday Power Of Paint Party Tutorials & Tips Tuesday Restore It Wednesday Transformation Thursday Creative Things Thursday Furniture Feature Friday |


You have read this articleAnnie Sloan /
chalk paint /
chalk paint projects /
french country /
french furniture /
french side chair
with the title Frenchy Chair Semi Make Over Tutorial. You can bookmark this page URL http://about-obama.blogspot.com/2011/10/frenchy-chair-semi-make-over-tutorial.html. Thanks!
Write by:
AN - Sunday, October 2, 2011


Comments "Frenchy Chair Semi Make Over Tutorial"
Post a Comment