Obama Furniture is New Furniture and Best Design for your HOME and Office.

Showing posts with label chalk paint projects. Show all posts
Friday, October 18, 2013

Outdated French Dining Chair Makeover With Chalk Paint & Ballad Bouquet Fabric

I have been busy finishing up some of the final details for the kitchen reveal. 
Back in the spring time I found four of these french chairs. Two will end up in the dining room when I get a chance to make them over. One of them is for the kitchen at our built in desk area. The chairs were in perfect condition. They just needed to be updated.
The first chore was to deconstruct the chair. This was my first time attempting an upholstery job on my own so I was nervous. I made sure to  take pictures of each and every step before ripping everything off so I could refer back to the pics when putting the chair back together. Trust me this was a life saver!
It took me about an hour and half to get the chair down to this point. Thankfully the seat was in mint condition so I did not have to do anything to it.
After I deconstructed the chair the next chore and the easiest was to paint the chair. Here is what the finish looked like. Very yellow and dated.
I dry brushed on a few different colors of chalk paint I had on hand to achieve a time worn finish. Very simple to do and only took about out 30 minutes.
Covering the seat of the chair took a bit longer, right at around three hours. Part of that was a learning curve from using my air compressor staple gun myself for the first time. Usually The Hubster is in charge of the gun. If you are going to be doing upholstery work on a regular basis I recommend investing in an air compressor with the nail gun and staple gun attachments. I first attempted to attach the fabric with my electric stapler and it was not strong enough. The staples refused to go in the wood. You can get a really great deal on one around Thanksgiving. I think we paid about $75 for ours a few years back when it was on special for Thanksgiving.
The back of the chair was the most challenging part for me.   This is where the pictures I took as I deconstructed the chair came in to major play. All in all I would say that this chair makeover took me about 10 hours. Hopefully now that I have completed this chair the next three will go by more quickly. 
The fabric I chose to use on the seat is Ballad Bouquet by Waverly. I dug it out from my stash of fabrics but I found that you can purchase it here
I am obsessed with Buffalo Check so of course I had to use some on the back of the chair. I purchased it from Ikea!
The trim I chose is a jute trim purchased from Hobby Lobby and hot glued on. 
I can not wait to show y'all how it looks in the kitchen! Off to sew a few curtain panels and then the kitchen will be ready for its photo shoot.

Thanx for stopping! Do not forget Treasure Hunt Thursday is going on strong so be sure to stop by the party!


Linking up to the following linky parties:
That DIY Party
Metamorphosis Monday
Tuesday Treasures
Inspire Me Tuesday
Nifty Thrifty Tuesday
Wow Us Wednesdays
Furniture Feature Friday

Thursday, October 27, 2011

Ready for the ball!

Meet Lucille! I purchased her a few months back. When I saw Lucille I knew she would be my first large piece to  pertty up and try to sell.

Well here is Lucille all ready for the ball! I just love how she turned out if I do say so myself!;)

I had a heck of a time with the handles. I was so excited at the over all physical condition she was in and the fact that she had ALL of her original hardware that I did not bother to see how the handles came off. Well they don't! They are glued on or something and not just screwed on. That left me to having to take a small paint brush and paint around the handles. 

 Lucille would easily become mine if I had a spot in my house! That is the problem with only painting pieces that I myself would want. Hopefully she will find a great home with somebody who will love her just as much as I do!

Lucille will be heading out to The Old Oak Cottage for their Christmas Open House next week! I can't wait! If ya live in the area be sure to come on by! Open House will be Nov 4-5 with a preview party on Nov 3! Let me know if ya need anymore details!

Linking up to the following parties:

Creative Things Thursday
Show & Tell Friday
Furniture Feature Friday
Feathered Nest Friday
Inspiration Friday
Vintage Inspiration Friday
Home Sweet Home Friday
Fridays Unfolded
Farmhouse Friday
Potpourri Friday


Sunday, October 2, 2011

Frenchy Chair Semi Make Over Tutorial

In my previous post I told y'all the story of this frenchy raspberry chair I purchased this last week. Though I indeed love her over all shape I knew she was slowly going to be transformed.

As impatient as I am I jumped right in on the transformation process. Since I am not any where near brave enough to reupholster it yet I decided I was going to at least make the wood frame have an old world feel. I busted out my extra wide blue painters tape and got busy.

Though an easy process it was a long process. It took me about an hour total. To make sure I had full coverage I pushed my fingernail in between the frame and the fabric which wedged the tape down.

Here she is all taped and ready for her make over. 

Here is what I used to keep the paint off the floor and so that I could make sure to get to the very bottom of the feet. Yep, those are the tops to the ever so many cups the boys bring home from dinner. We have a drawer full so plenty to go around.

Of course I pulled out my trusty chalk paint. The transformation involved three differ colors. The first I used was Paris Gray.

I used a thin paint brush. I think it was an inch wide and just dry brushed it on. Very little paint was needed and if you do not want to purchase an entire quart you can certainly complete a project of this size with just sample pots!

Next up was the newest chalk paint color Coco!

I used the dry brush method again. Here you can see the distinction between the two colors. 

Then my final color was Old White which I brushed on a bit more heavily over the entire piece but still making sure to leave some distinction between the layers. To hurry the process along I used a hair dryer to dry in between each color though this paint dries fairly quickly. I was hoping to achieve a crackle finish but I am guessing that did not happen since I did not apply the paint on thick enough. I had seen though where people have achieved the crackle with just a hair dryer. Next I used clear wax and then dark wax to finish the look up.

Here you can see the color variations.

I was not going to use the dark wax at first but I am glad that I did. It truly enhanced the piece.

I think she fits in much better now and honestly her raspberry color is not as shocking anymore. I may just keep her that way!

 Here is the fabulous toile fabric I found at HobLob this past week. I plan on using it for accent pillows. I think it goes nicely with the raspberry chair!

Hope your weekend was a grand one! We had beyond beautiful weather here but the entire fam is snotty and has chest congestion which has not been fun!:(

Thanx for stopping by!


Linking up to the following parties:
Sunday Showcase Party
Metamorphosis Monday
Amaze Me Monday
Show Off Your Cottage Monday
Nifty Thrifty Tuesday
 Power Of Paint Party
Tutorials & Tips Tuesday

Restore It Wednesday
Transformation Thursday
Creative Things Thursday 
Furniture Feature Friday


Thursday, August 11, 2011

Project Nest

Last week I shared with y'all how I fell in love with Deborah's 'Nest" chair and just had to have one for myself.  Deborah was super sweet in helping me out by providing the graphic which you can find on her blog Upcycling My Ordinary Life! Thanx Deborah for sharing it with us all! You are a sweetie!


This is the before of the nasty chair that required an entire container of Clorox wipes!


Of course I busted out the Chalk Paint for this project. I used Chateau Grey as my base coat and then Old White as my top coat.


After I used the old pencil and paper transfer trick I used a paint pen to draw on the 'Nest' and then used clear wax over the entire piece. Next I used my Jacobean wax on the seat after some distressing and decided it was just too dark for the entire piece so I only used it on the seat. 


The rest of the chair I used a dark wax but by a differ maker and made sure to rub most of it back off. 


I think it turned out really nice and I have Deborah to thank for the inspiration and help! You rock lady!


Here is just a little setting I made cause I am corny like that. I wanted to see what the chair and table looked like next to each other.
Hope your week was a good one y'all! Don't forget if you have a treasure this week be sure to come on over and party for Treasure Hunt Thursday!

Linking up to the following parties:
Inspiration Friday


Transformation Thursday


vif187

Stuff and Nonsense


Photobucket
bws tips button


Monday, July 25, 2011

A Little Project

This project came about last week in the wee hours of the morn when I was trying to figure out the wall in the foyer. I remembered that I had this old shutter thing out in the garage for jeez over a year now. Then I pulled the yellow frame from the guest bedroom. We purchased it at Ikea a few years back. It use to be black. The letter 'F' I used for our fall wreath for the front door. Though I did not use this for the foyer I kept thinking how much I liked it. So I got to work transforming it.

I started out with the old shutter and my Chateau Grey chalk paint which I did stop using because I really think something may be wrong with it. Still waiting to hear back on it though.


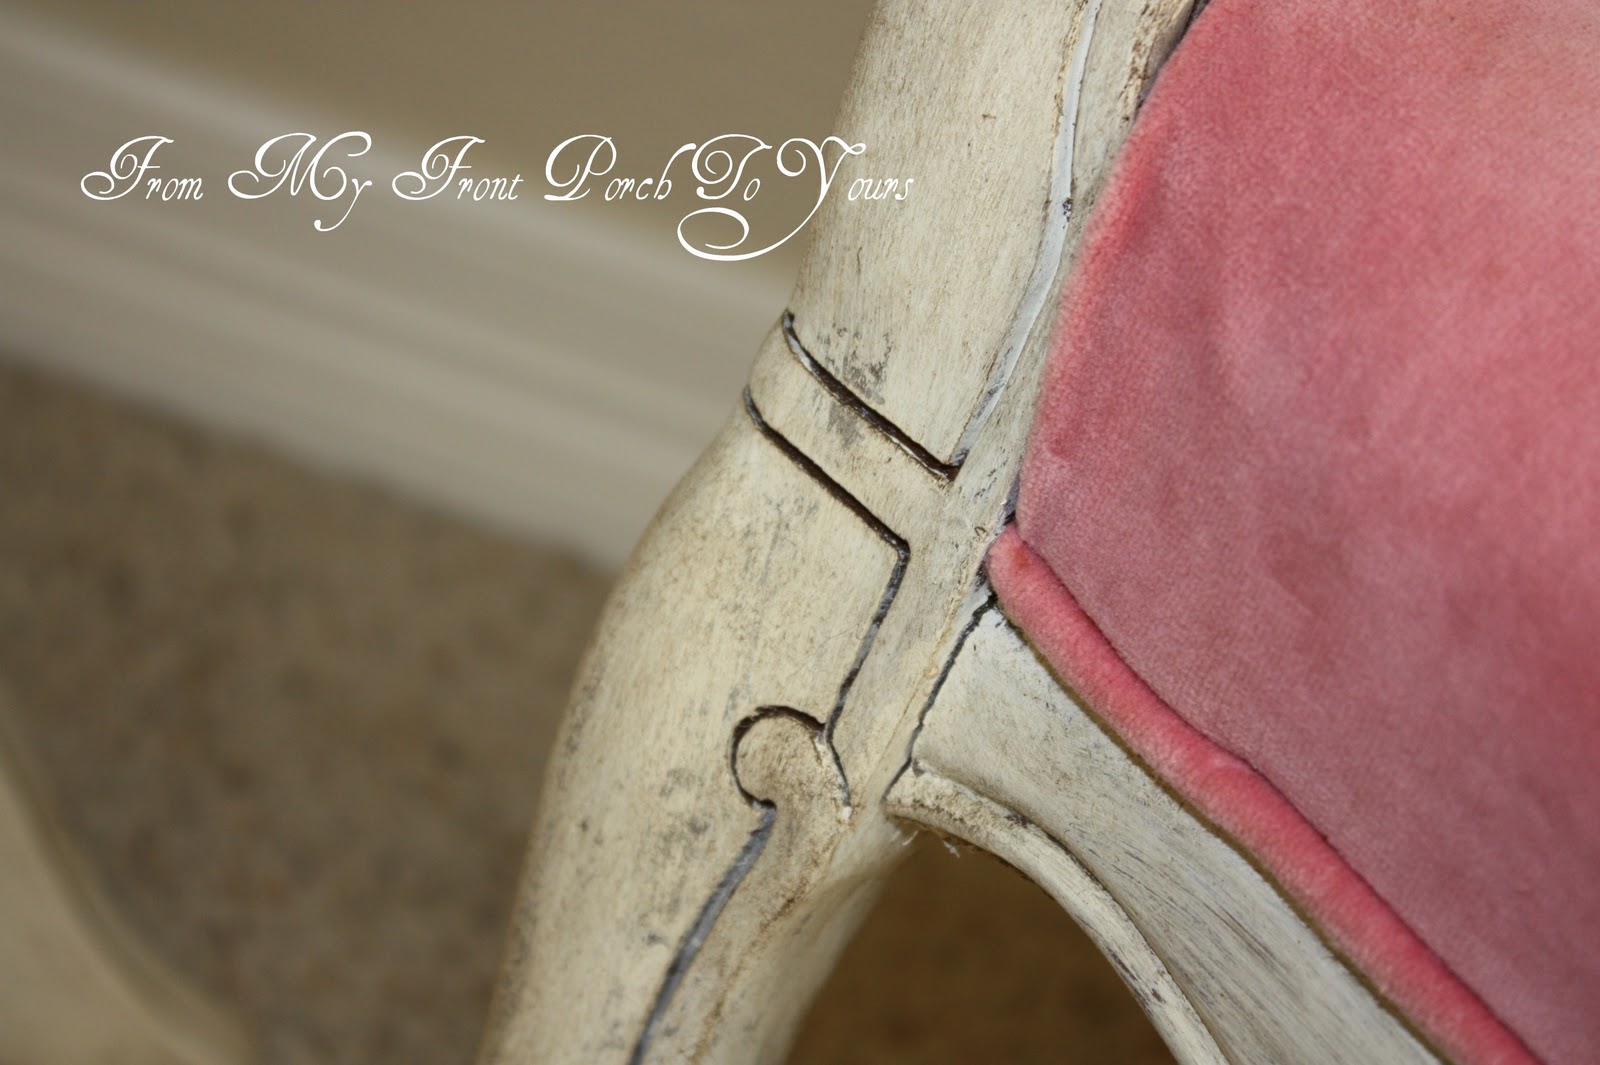
Then I used my Old White Chalk Paint on the frame and lightly brushed the shutter with it as well. Then for the frame I used my Jacobean wax and forgot that I needed to add the clear wax first so the Jacobean soaked right into the chalk paint but it ended up turning out okay in the end.

Here is the final result! 

I love the white dry brushed on top of the gray.

I also love how the frame turned out though I am debating on whether or not to dry brush it with some old white as well or maybe take some Antique Gold Rub N Buff to it or just leave it alone. At first I added this display to the hallway between our kitchen and dining room but it is rather large and made me feel claustrophobic.

So it ended up here on the stair landing which then led to me starting a whole nother project which is still in progress!:)


Also do not forget to stop by my Appreciation Party! You have till August 1 to submit your questions for consideration!

I am linking up to the following linky parties:


HOG


Photobucket


Domestically Speaking


Hope your Monday was a great one!